This option doesn’t come built into Windows 10, however, so you’ll have to make use of some free software to customise your files. Thankfully it’s nice and simple to use. The software we’re going to use is called Folder Marker Free and you can download it here, then you can follow the steps below to start making your desktop look more colourful.
How to change the colour of your files in Windows 10
Download Folder Marker FreeDouble-click the downloaded file, this will bring up the installation wizard to help you install itFind the Folder Marker Free icon on your desktop. Double-click it to open
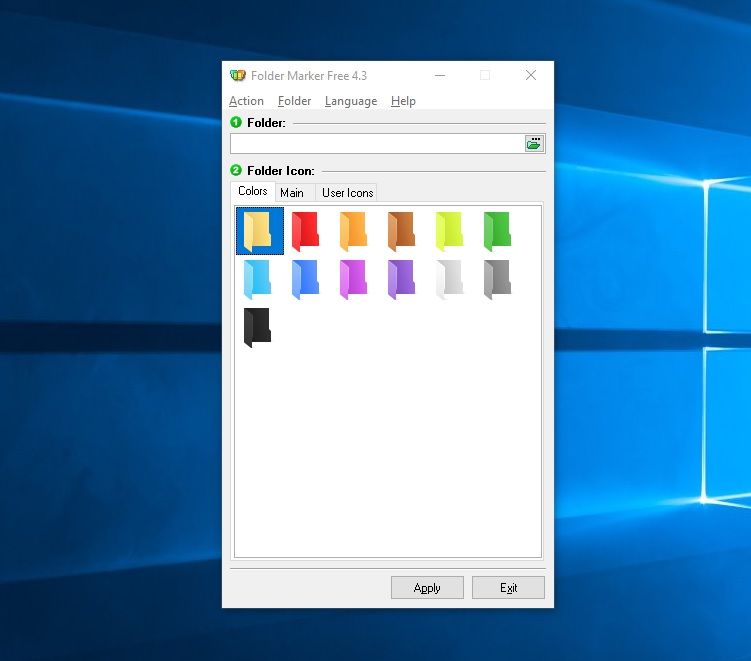
Click on the folder with the “…” at the top right and navigate to the folder you wish to change the colour of. I’m going to use a ‘Test Folder’ on my desktop as an example
Select the colour you’d like your folder to become in the box belowOnce you’ve made your selections, hit Apply at the bottom of the window
You can also change the icons of the file or folder to help them stand out. To do this, simply click the “Main” tab next to the “Colors” tab and you’ll be presented with some icons that you can change your files to. Follow the same process as before, select the file you wish to change and the icon you wish to change it to – and hit Apply at the bottom
How to create custom desktop icons in Windows 10
You can also create personalised desktop Icons with Folder Marker FreeClick the “User Icons” tab as displayed below. Select “+ Add” and then select the image you wish to use for a folder from its location on your computer
Once you’ve done this, select the image in the window, make sure you have the correct file address in the top window and hit apply
If you’re looking for some more tips to help make your Windows experience easier and more efficient, we have a handy article here for just that.