Editing digital photographs once required powerful PCs with expensive bespoke software. Photoshop has become the suite of choice for many professionals and consumers alike, so much so that now people use it as a verb – ‘did you photoshop that?’ Could it be then that it’s actually possible to run something as complex and demanding as Photoshop on the humble Chromebook? We take a look at how to use Photoshop on a Chromebook, and the best alternatives. Update January 2017: According to Google, all new Chromebooks in 2017 will run Android apps with support for the Play Store out of the box. The following walkthrough will still be useful if you are using an older Chromebook.
How to use Photoshop on a Chromebook: Project Photoshop Streaming
Up until recently Photoshop was very much the preserve of PCs and Macs. It came as quite a surprise then when Adobe announced that it was experimenting with an online version that Chromebooks could use. Project Photoshop Streaming hosts the application on Adobe’s servers, meaning that the majority of the processing is done in the cloud rather than on the Chromebook itself, which would admittedly struggle with the demands. Of course anyone using the service would need a fast and stable internet connection, as there would be a lot of information travelling back and forth between the Chromebook and the site. Initial reports have been very encouraging though, saying that the solution works surprisingly well and could pave the way for more server-side applications. Sadly Project Photoshop Streaming is a very restricted service at the moment, only available to existing Creative Cloud customers based in North America who work in education. With the technology now in place though, it will hopefully only be a matter of time before Adobe opens it up to a much wider audience. Until then there are other options available on the Chromebook that can accomplish a good deal of the Photoshop duties and cost quite a bit less.
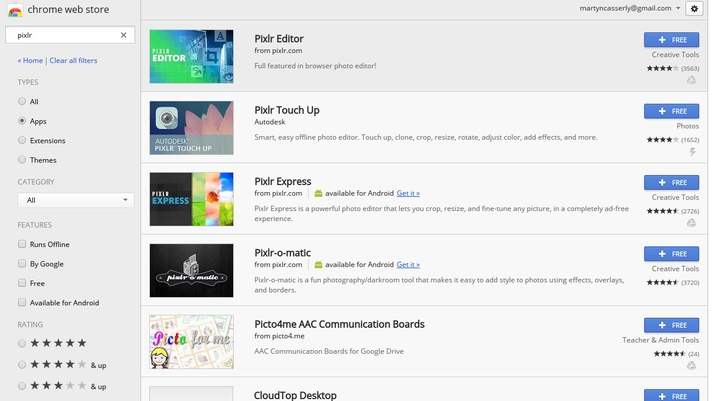
How to use Photoshop on a Chromebook: Pixlr Editor
One of the most popular image editors on Chrome OS is Pixlr Editor. To download it click on the square grid icon in the bottom left of your screen then select the shopping bag icon that represents the Web Store. Once the store is launched search for Pixlr Editor and then click on the blue button marked ‘+ FREE’ to add it to your Chromebook. When you load up the app you’ll notice straight away that the interface is very similar to Photoshop. The left hand column is where the tools reside, including the ability to crop an image, Clone parts of a picture when you want to magically remove people or objects, and more everyday functions such as red-eye removal.
How to use Photoshop on a Chromebook: Using the Clone tool to remove objects
A common task that photoshop excels at is removing unwanted artifacts, or people, from images. The easiest way to do this is by using the Clone Stamp tool, which is the yellow stamp icon in the Tools panel that also resembles someone’s head and shoulders. Click on this and then when you move to the main image you’ll see you now have a circle as your pointer. A clone tool works, as the name suggests, by copying one part of the image over another. It’s can be something of a blunt instrument, but if you take your time you can achieve impressive results. To use the clone you’ll need to pick a part of the image that you want to copy, press CTRL+click, which selects the area, then move the mouse to the bit you want to replace click and hold, then gently move the mouse through the image. If you make any mistakes just hit CTRL+Z to undo your last edit. One thing to know is that the point you pick to copy actually moves as you paint it over the affected area. This is to make the image look more natural, but it takes a little getting used to.
How to use Photoshop on a Chromebook: Removing red-eye
Another quick fix that’s very handy is removing red-eye from pictures. This is actually very simple to do, thanks to the red-eye reduction tool in Pixlr. Once you’ve loaded up the image you want to fix, go to the Tools panel and click on the eye icon.
Now, on the left of the screen are three panels, the top one is called the Navigator and it displays a small version of the main image. This allows you to focus on any part of the image by moving the little red square over it, and then zoom in and out using the slider. To fix red-eye enlarge the affected area until it takes up most of the screen, then place the pointer over the eye in the main image. Now just click on the red parts and Pixlr will darken them. Again, if you make a mistake CTRL+Z will come to the rescue. There are many more functions available in Pixlr, including making an image or logo from scratch, and it really is a very impressive free tool for the Chromebook. A quick search on YouTube throws up a plethora of tutorials for many of its other graphical capabilities, and you can also access the app via the normal Chrome browser on your PC or Mac.
How to use Photoshop on a Chromebook: GIMP
GIMP has long been one of the most popular Photoshop alternatives on PCs and Macs. It’s a very powerful image editor with a legion of fans and tutorials online. Much like Pixlr the interface is heavily based on Photoshop, with an impressive amount of tools and functions. Now Chromebooks can enjoy GIMP for free, thanks to this web adaptation to the classic application. You will need to create an account to have access to any of the useful features, but once you’re set up this is a useful tool for your photo collection.
How to use Photoshop on a Chromebook: iPiccy
If you don’t need all the advanced features of Pixlr, and instead want a simple editor for photos, iPiccy is a great free app. The layout is bright and friendly, with big buttons bearing their functions so you can’t get lost. It’s powerful too, being able to resize, rotate, and even remove parts of an image via a cloning tool. It also has easy to use settings for adjusting colours and exposure, plus various Instagram-style filter effects.
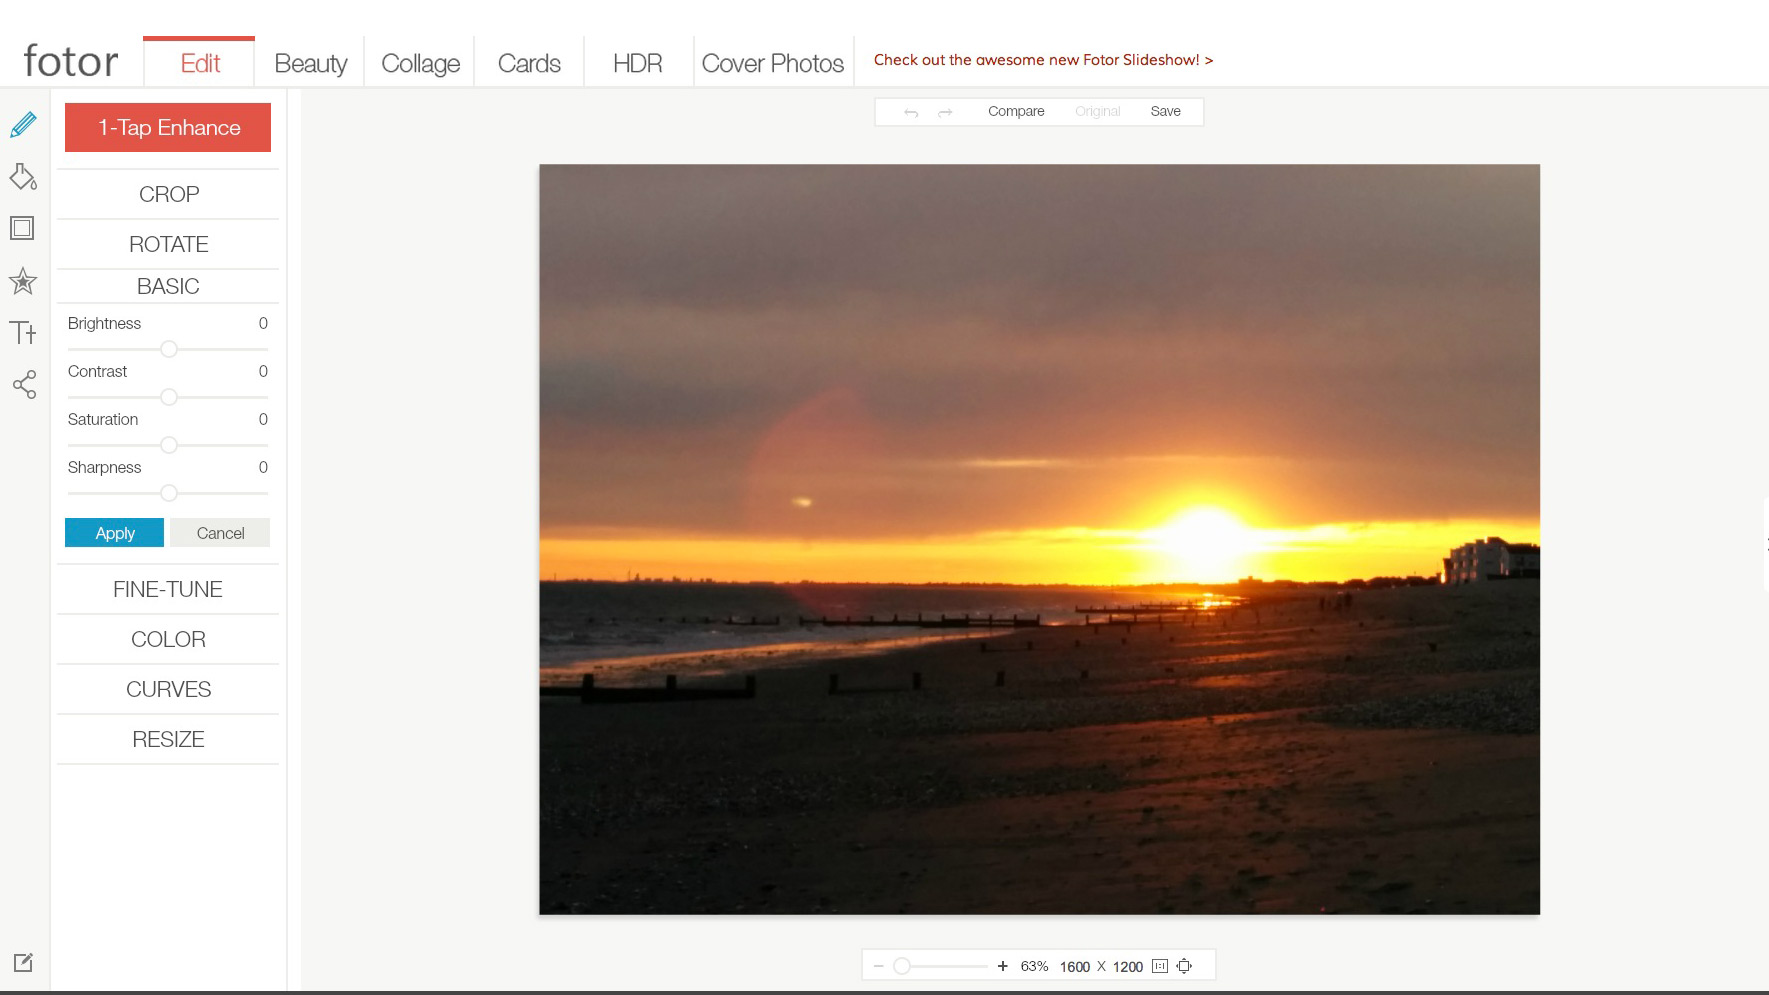
How to use Photoshop on a Chromebook: Fotor Photo Editor
Another fun and easy to use alternative is Fotor. This image editor is focussed far more on making cards, collages, and even pretend magazine covers, than the deep editing features of Photoshop. It still has many of the standard tools you’d expect, and also Instagram-style filters are in abundance. There is even a blog on the site that covers various creative ideas, such as how to take chic fashion photos.
Martyn has been involved with tech ever since the arrival of his ZX Spectrum back in the early 80s. He covers iOS, Android, Windows and macOS, writing tutorials, buying guides and reviews for Macworld and its sister site Tech Advisor.